
Show the booking widget on your Shopify store
Activate the booking interface in the theme customers actually use. After a theme change, check the app embed again.
Where to go: Settings → Integrations → Shopify storefront
Before you start
Save at least one service and assign suitable staff, locations and business hours. You need permission to edit the store’s theme.
Open your theme from Bookimatic
Go to Settings → Integrations. In Shopify storefront, choose Manage in Shopify. Check the theme name before changing it.
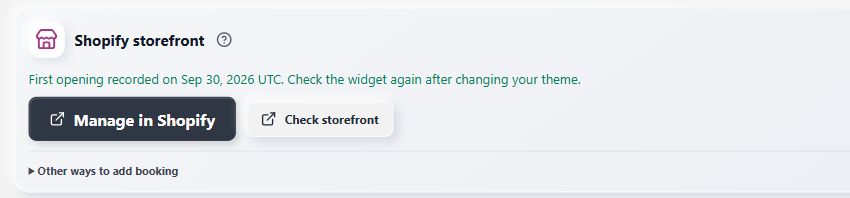
Manage in Shopify opens the theme setup; Check storefront opens the customer view.
View full-size imageEnable the Bookimatic app embed
In Shopify’s theme editor, open App embeds, find Bookimatic and turn it on. Choose Save. Shopify controls this editor, so its wording can change.
Check the customer view
Return to Bookimatic and choose Check storefront. Open the floating calendar button and check service → time → details → review. Use fictional details for your own setup check. Review the appearance on a phone too.
Choose another placement if needed
For an inline booking area or another supported entry point, expand Other ways to add booking. Use the instructions for the placement you choose. Save and check the relevant theme or page after adding it.
What to expect
The booking entry point is visible in the intended theme. A customer can open it and see your configured services.
Common questions
Why is the booking button missing?
Check that the Bookimatic app embed is enabled and saved in the correct theme. If you changed or published a different theme, enable the embed in that theme too.
The widget opens but shows no available times. What next?
The embed is working. Check staff assignments, business hours, time off and service rules using the availability troubleshooting guide.
Checked against the app on 5 November 2026
Screens show the Bookimatic interface with fictional sample data. Names, dates and addresses are examples.